Embedded experiments let you evaluate custom interactive content inside Mabyduck. Instead of showing a static media file, each stimulus is rendered in an iframe and then rated with an embedded experiment interface.
Use embedded experiments when your stimulus is an interactive frontend, a generated UI, a dynamic visualization, a task flow, or any content that needs custom rendering logic.
When a rater opens an embedded stimulus, Mabyduck loads the stimulus inside an iframe. The stimulus can:
- Render custom HTML and interactive UI.
- Load images, audio, video, or other remote assets.
- Make network requests to external APIs.
- Tell Mabyduck when the stimulus has started, completed loading, or failed.
- Record extra metadata or resize the embedded iframe.
The rater then evaluates the rendered content using the rating interface for the selected embedded experiment type.
Mabyduck supports multiple ways to provide embedded stimuli.
Upload JavaScript files in a dataset. Each .js file is treated as one stimulus condition and runs inside an iframe with a <div id="content"> container where you render your content.
├──source_1/
│   ├──anam.js
│   ├──tavus.js
│   ├──heygen.js
│   └──config.json  (optional)
├──source_2/
│   ├──anam.js
│   ├──tavus.js
│   ├──heygen.js
├──source_3/
│   ├──...
Each folder is a stimulus group, and each .js file inside it is a condition. For example, the files might represent different models, prompts, interface variants, or generation methods.
Support for uploaded custom HTML stimuli is coming soon. This will let you provide complete HTML documents for embedded experiments when a single JavaScript file is not the most convenient format.
If your embedded stimulus is already hosted as a frontend, you can point Mabyduck directly to it with a CSV manifest. Each CSV row defines the group, condition name, and remote URL that should be loaded in the experiment iframe.
group,condition,url,file_ext
task_1,variant_a,https://frontend.example.com/task-1?variant=a,html
task_1,variant_b,https://frontend.example.com/task-1?variant=b,html
Use this when you already deploy your frontend elsewhere and want Mabyduck to handle experiment assignment, rating, and results collection.
Custom code files can be edited directly from demo sessions. The embedded preview includes a code editor that lets you modify the stimulus code, preview changes immediately, and switch back and forth between the editor and the rendered preview.
The editor supports linting and Vim mode, which makes demo sessions useful for iterative debugging and development before running a live experiment.

Your JavaScript runs inside an iframe with a <div id="content"> container where you render your content.
const container = document.getElementById("content");

const message = document.createElement("h1");
message.textContent = "Hello from my experiment!";
message.style.textAlign = "center";

container.appendChild(message);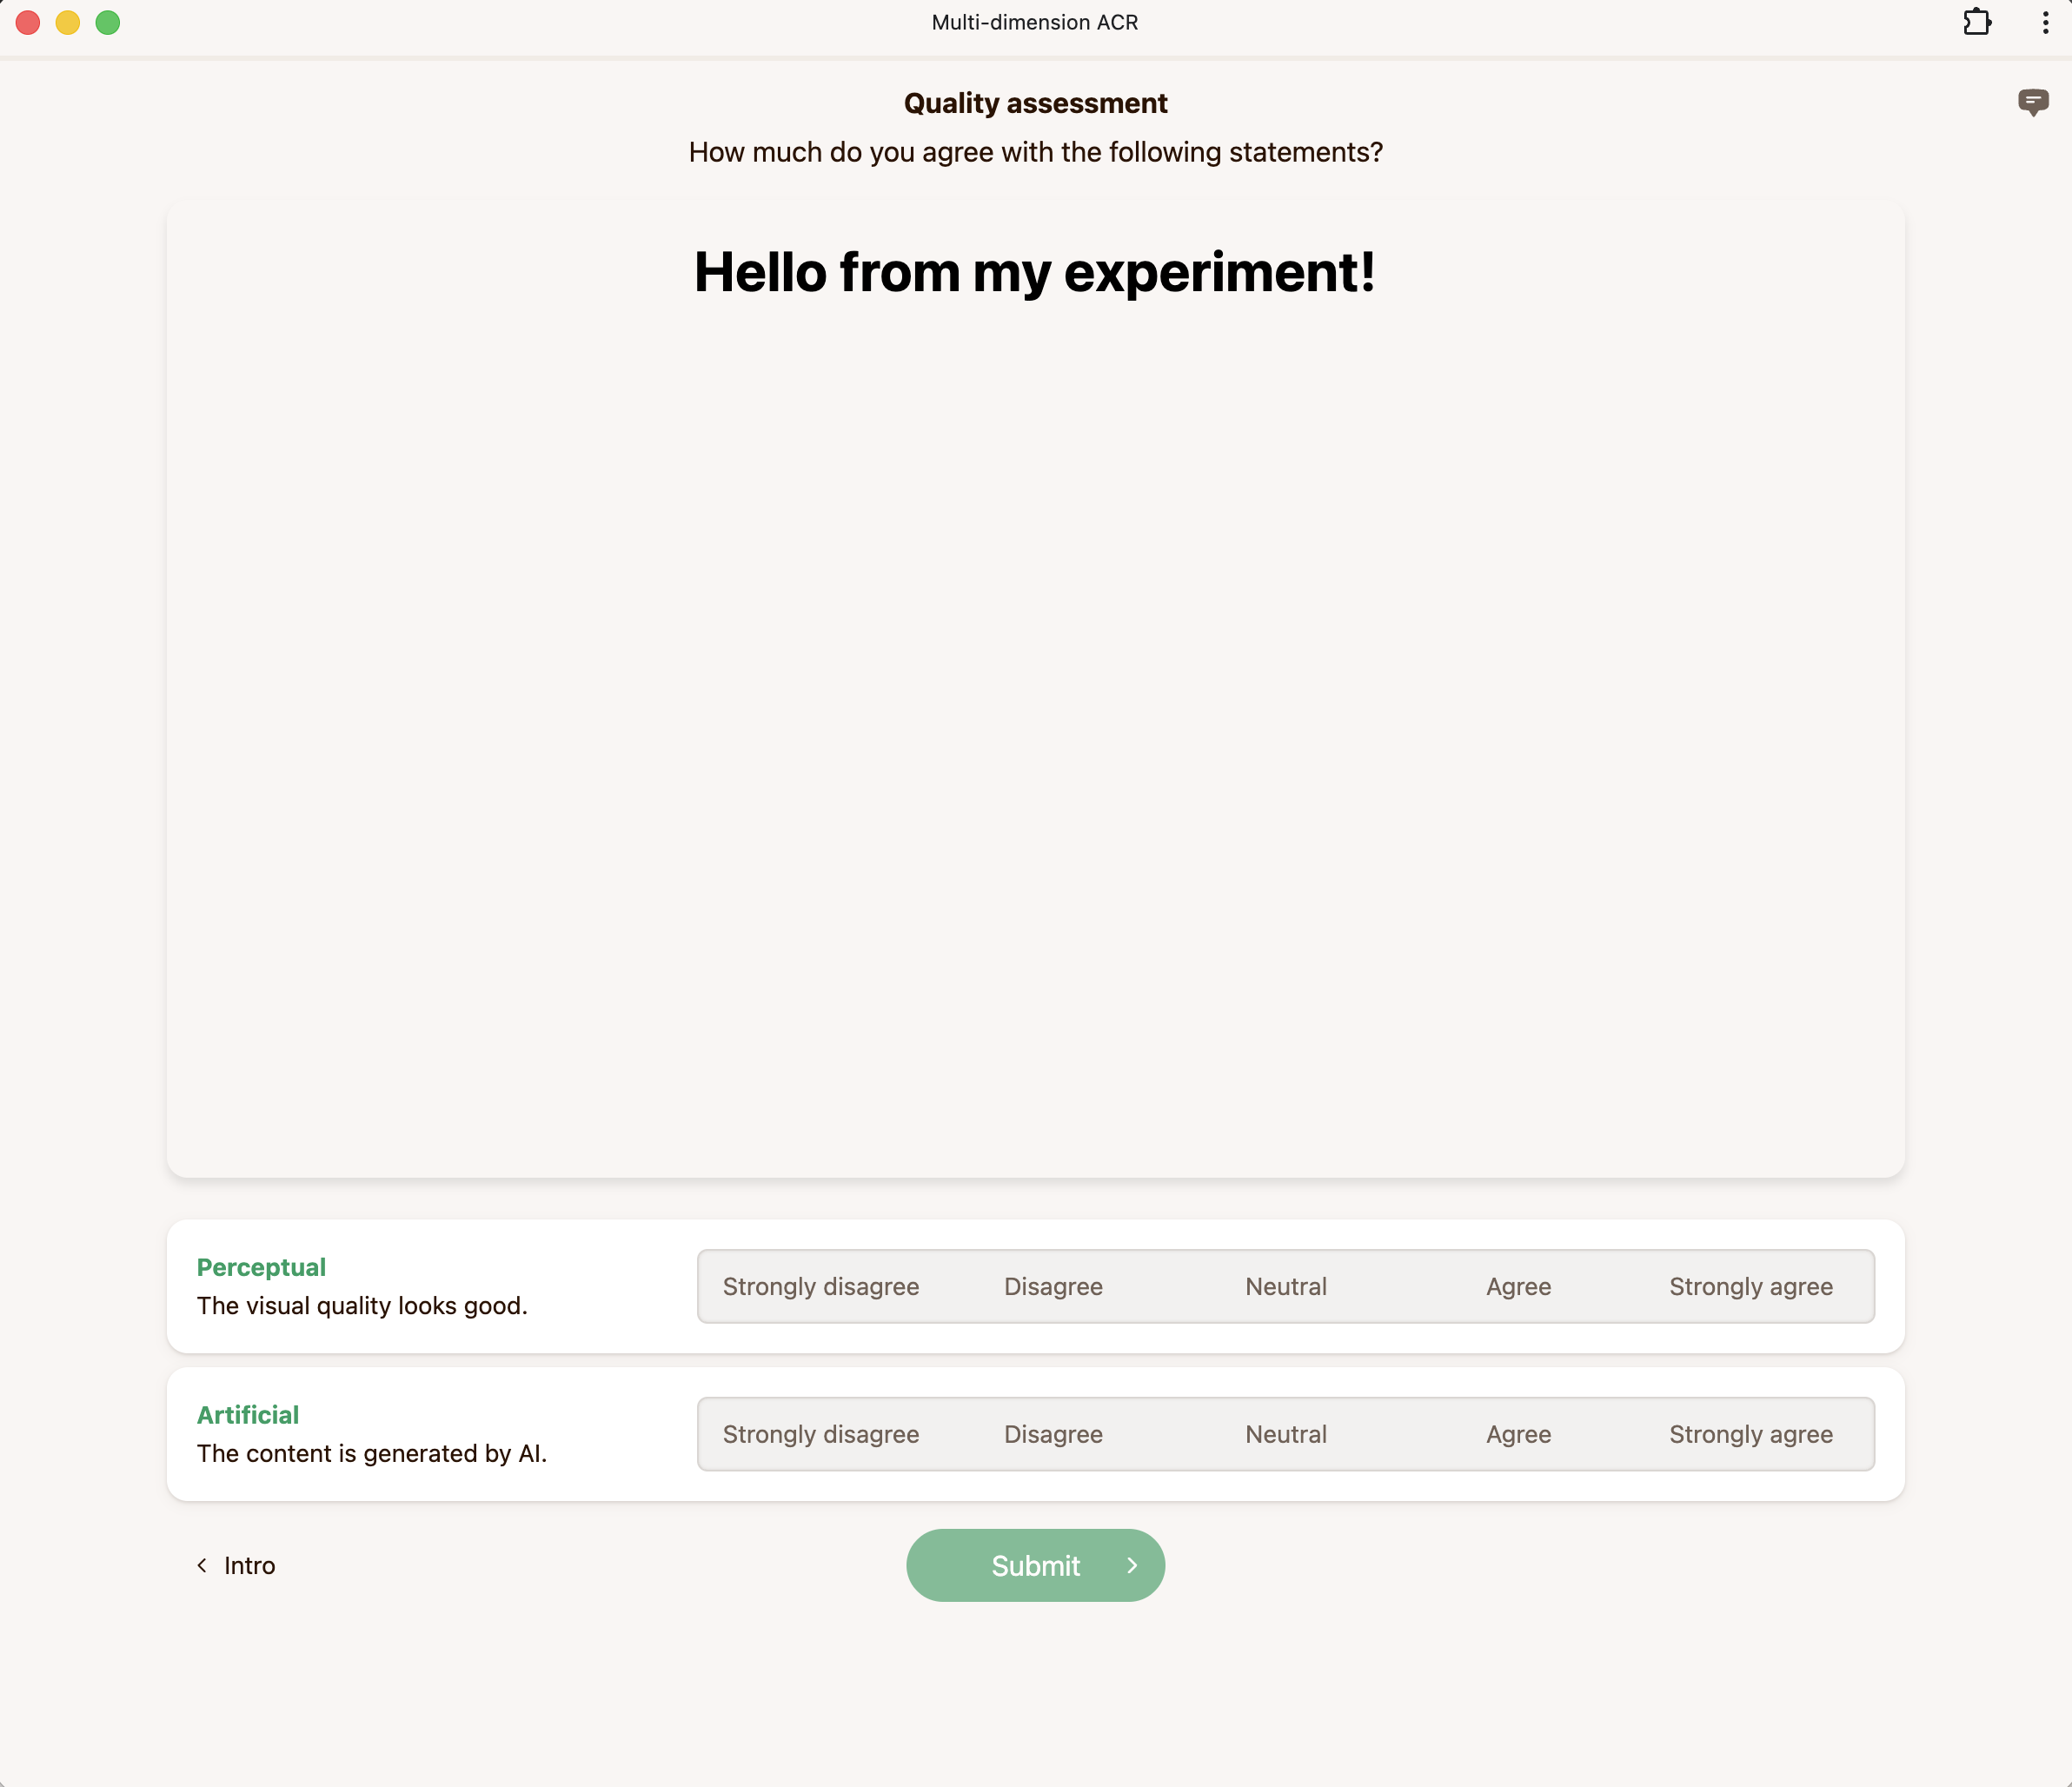
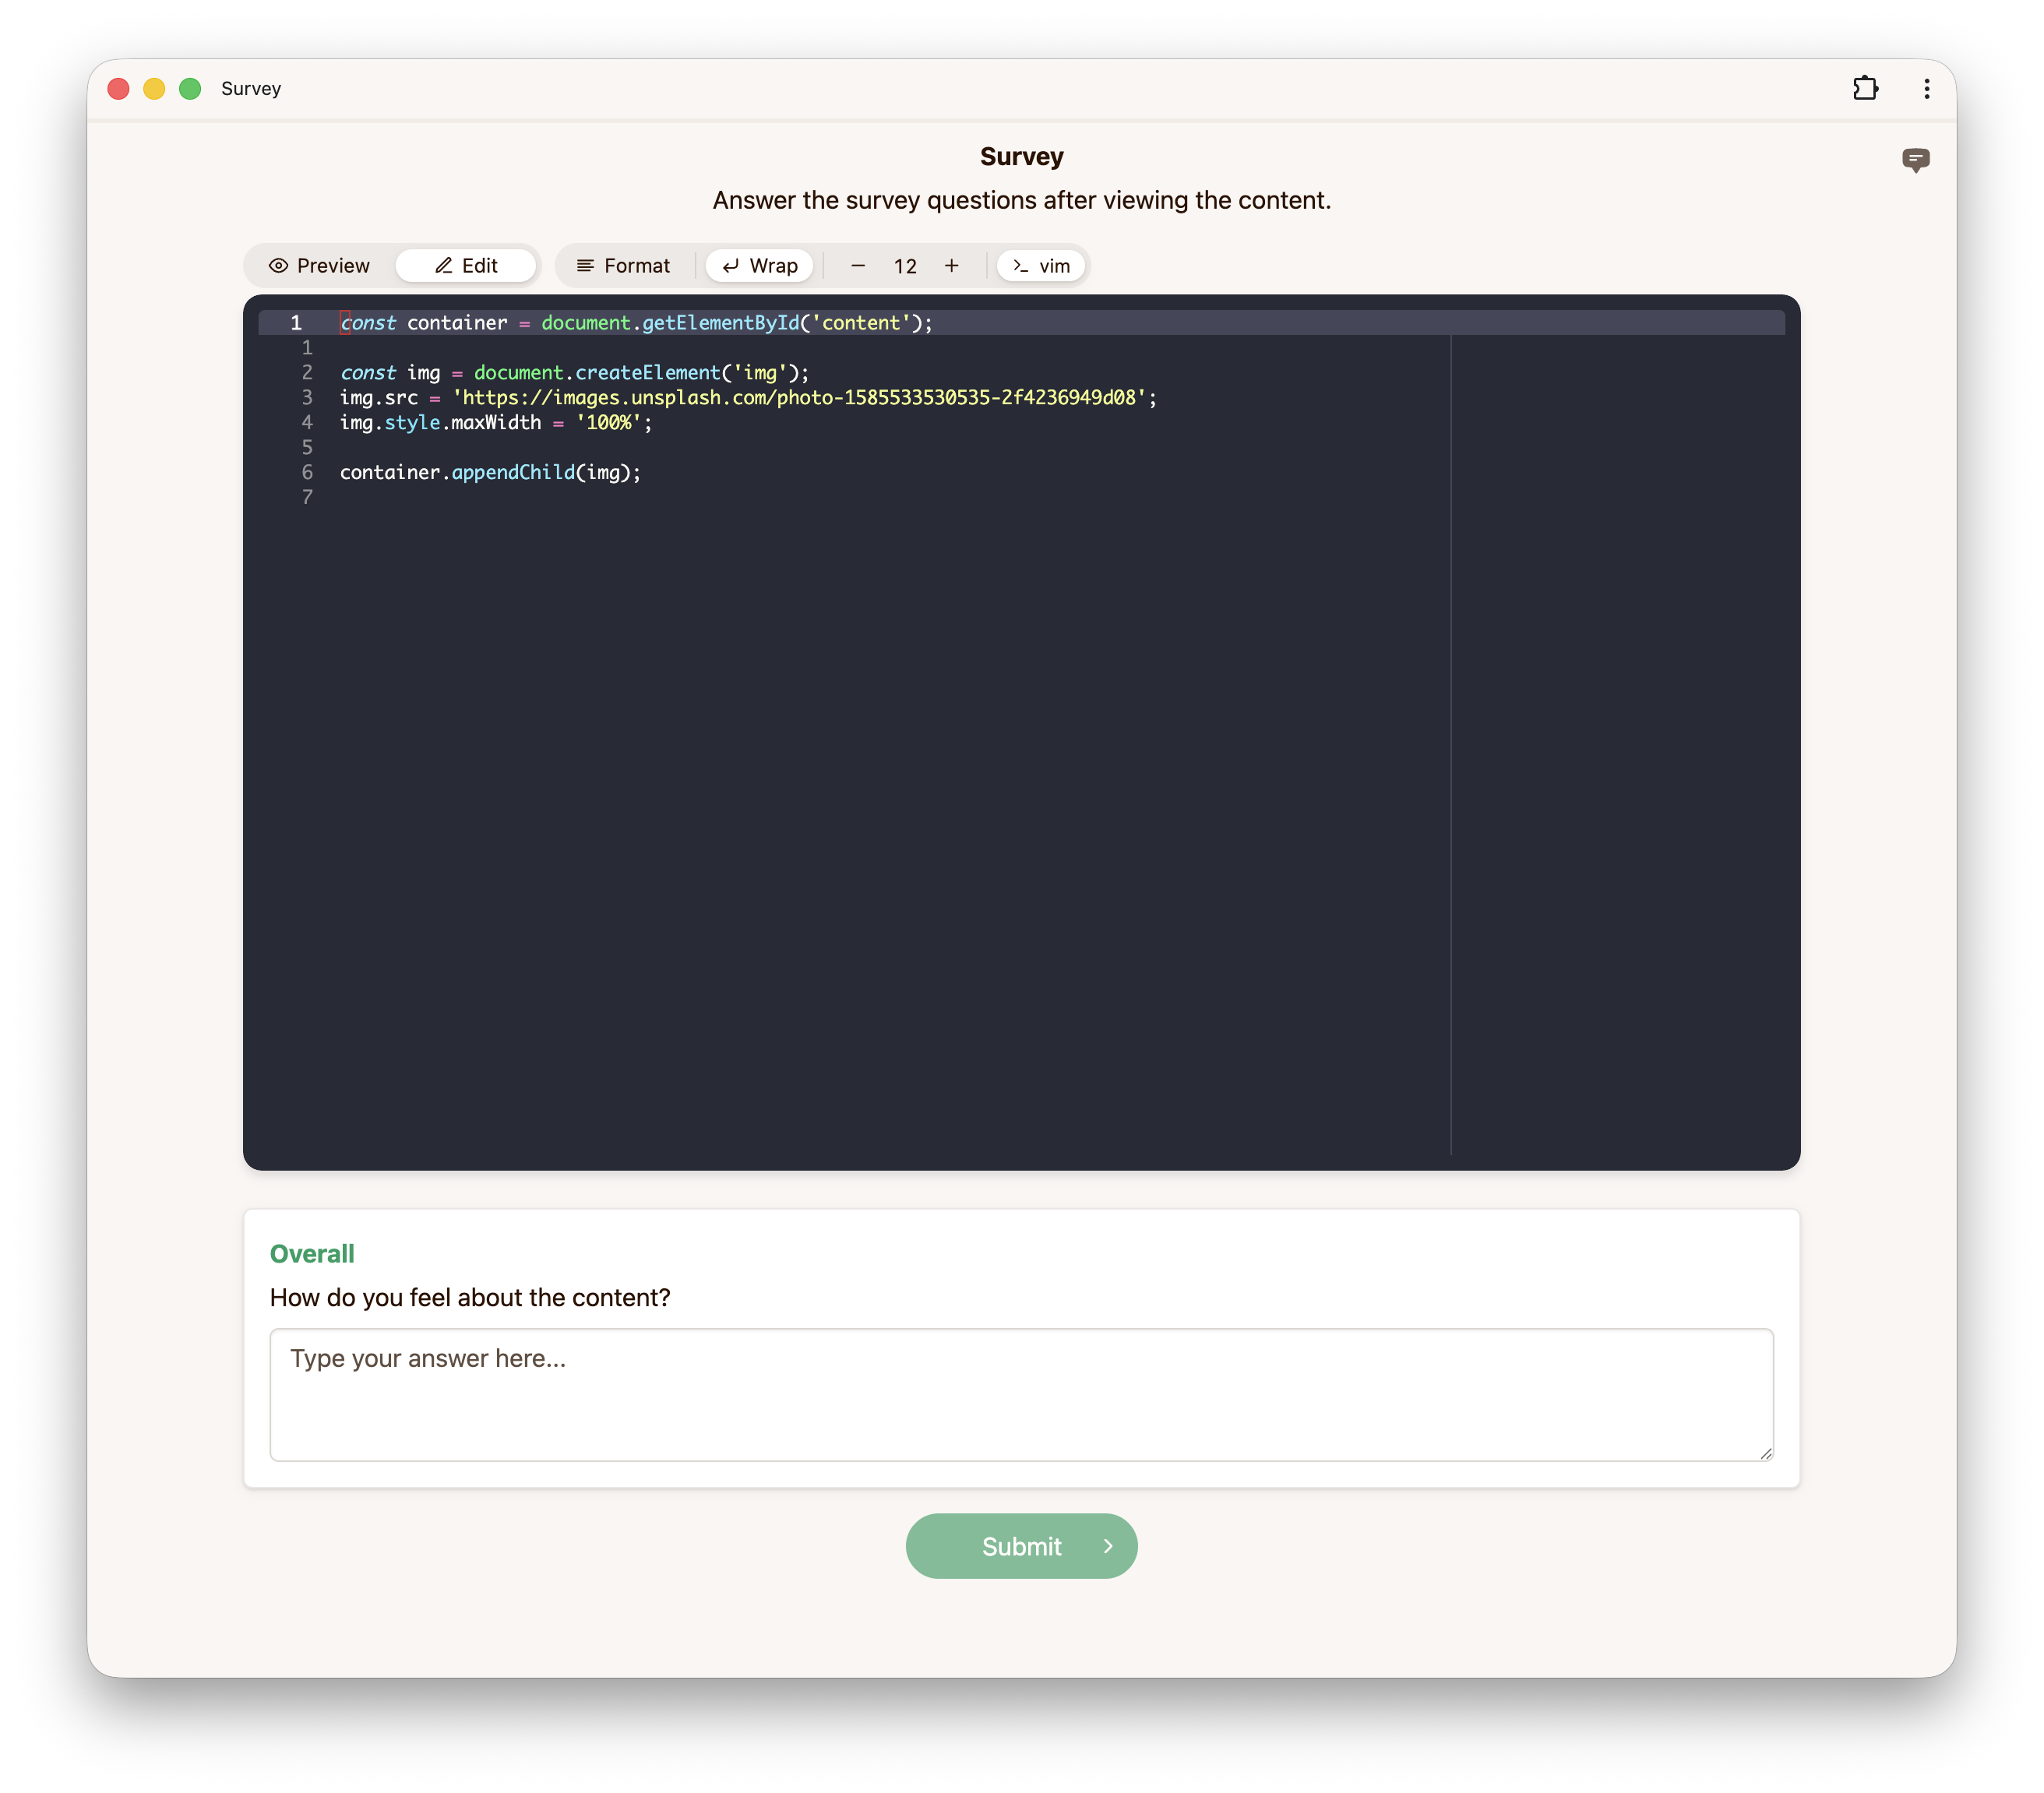
const container = document.getElementById("content");

const img = document.createElement("img");
img.src = "https://images.unsplash.com/photo-1585533530535-2f4236949d08";
img.style.maxHeight = "100%";

container.appendChild(img);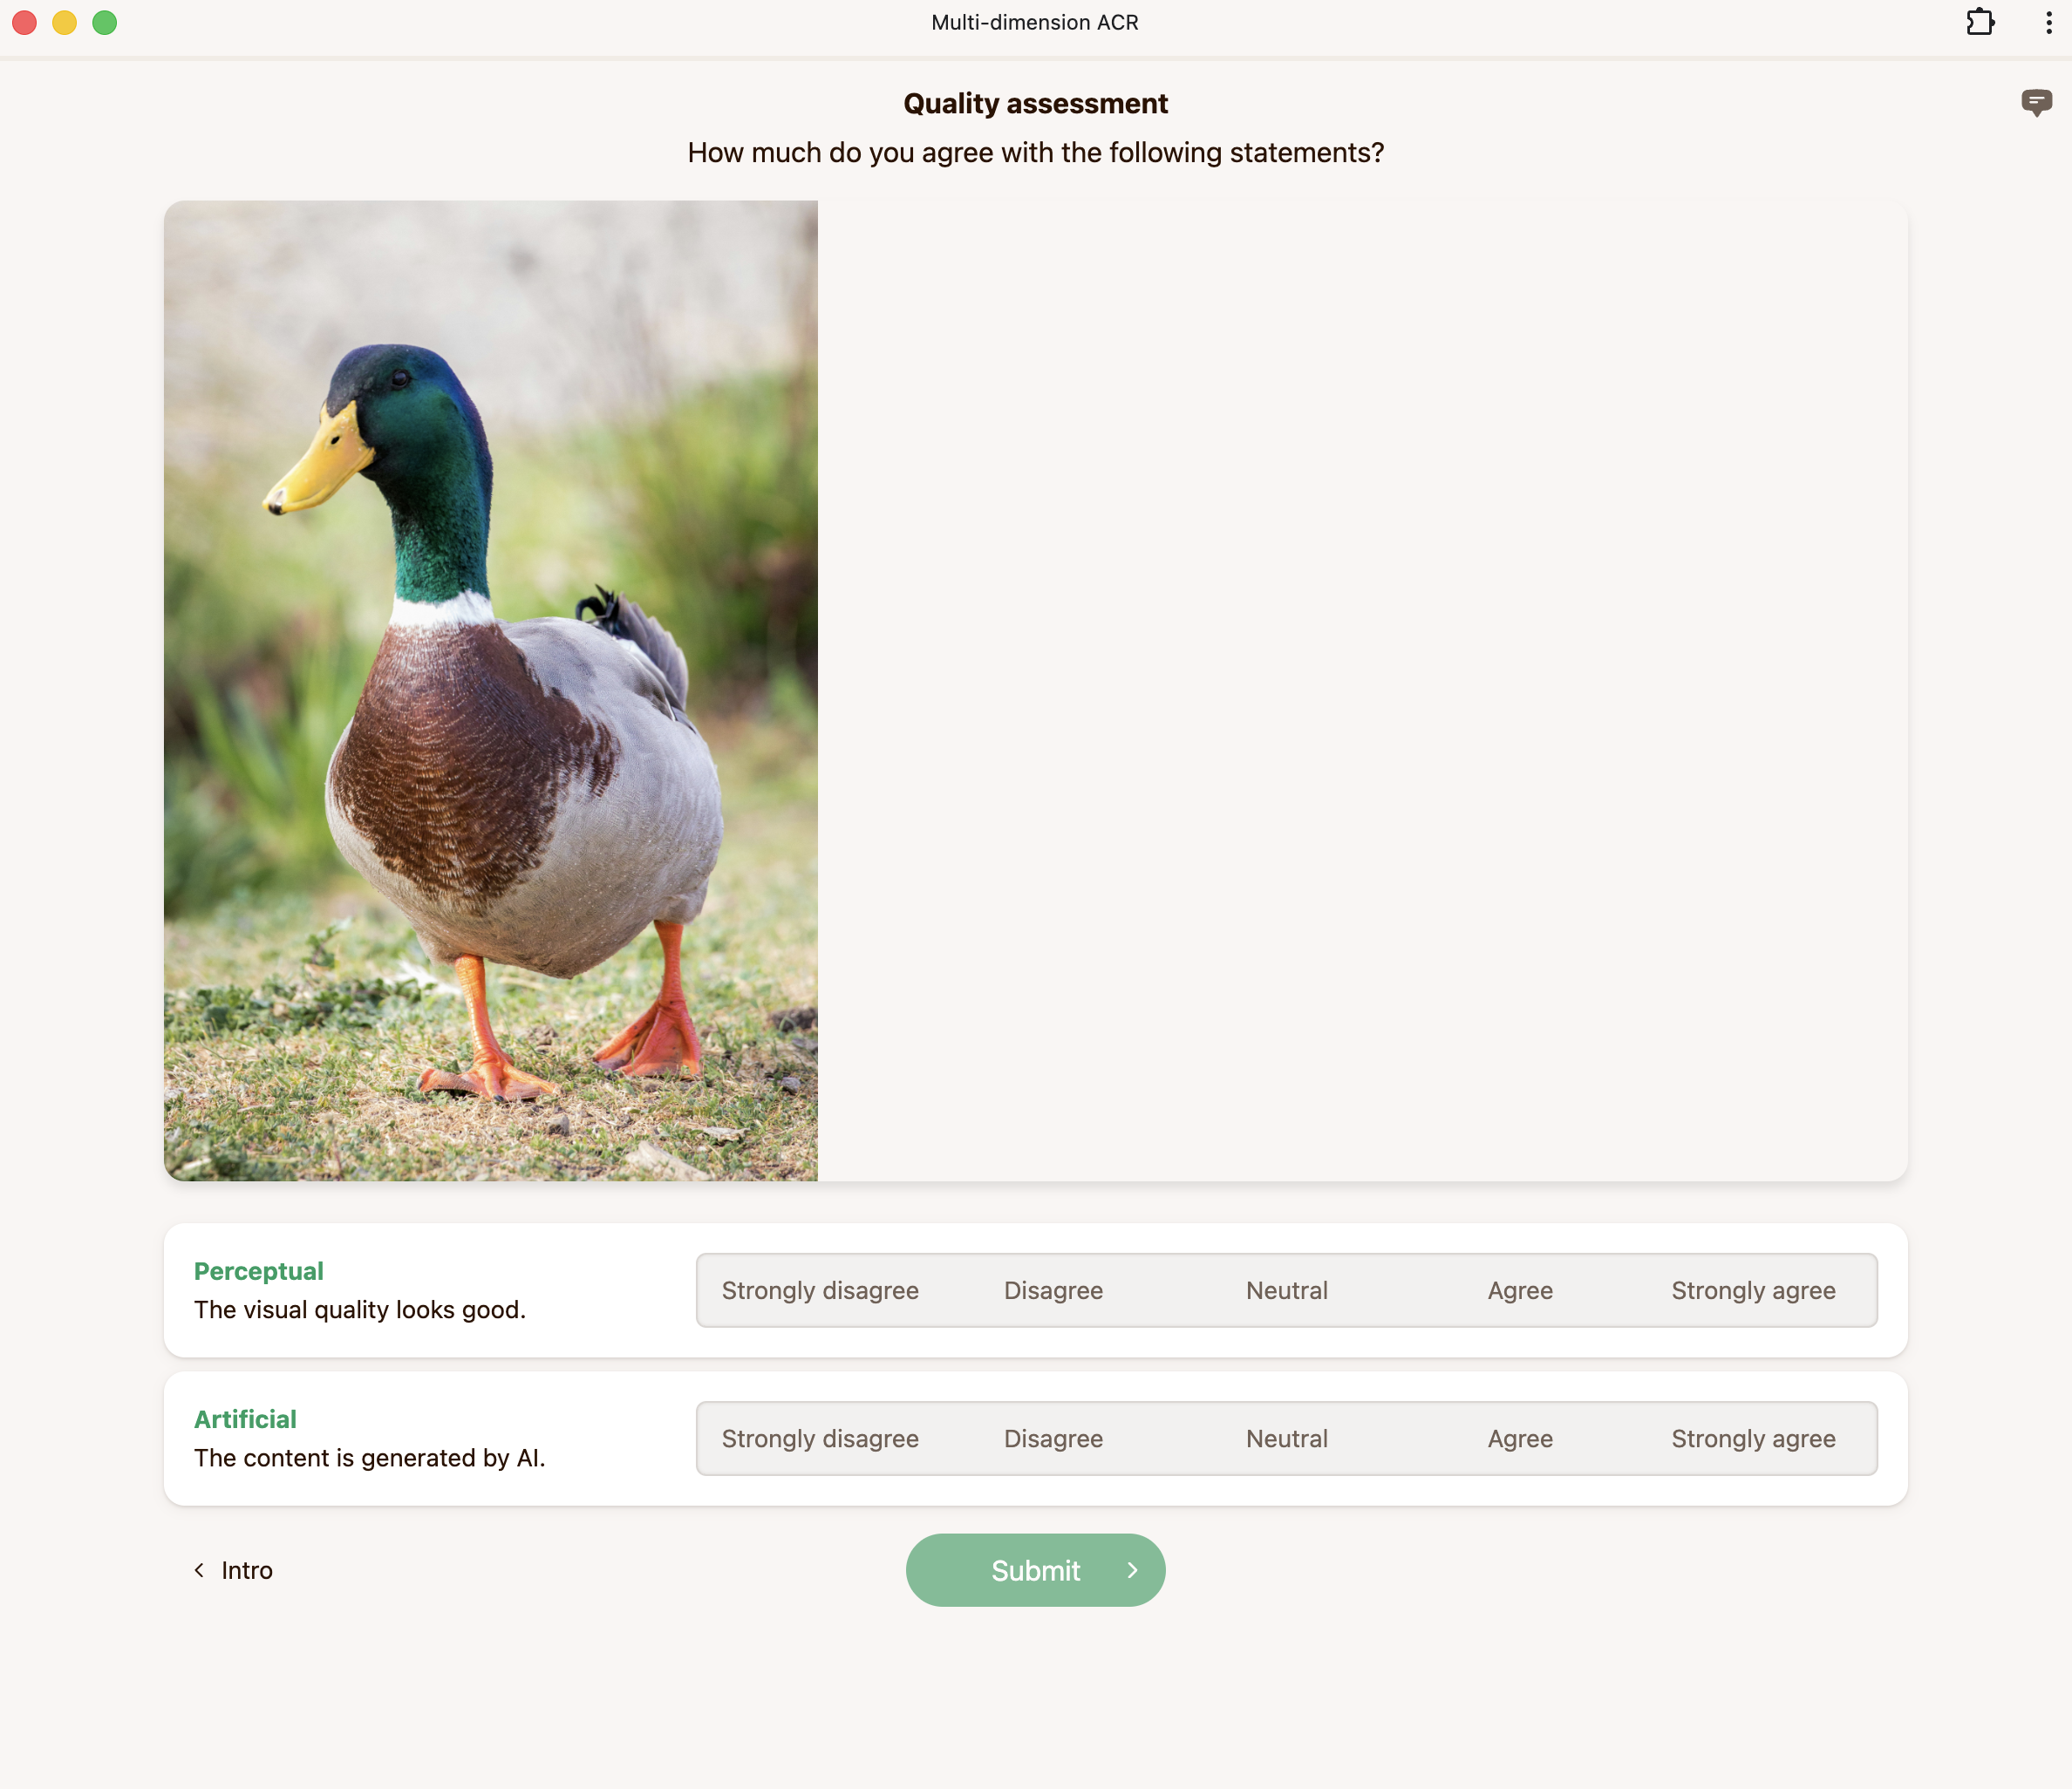
Custom JavaScript stimuli have access to helper functions that communicate with Mabyduck. Some helpers report lifecycle state, while others let you attach metadata or control the iframe window size.
These helpers are available to uploaded .js stimuli that run in Mabyduck's embedded sandbox.
Call this when your content is fully loaded and ready for the rater to evaluate.
const container = document.getElementById("content");
const img = document.createElement("img");

img.onload = () => {
  notifyStimulusComplete();
};

img.src = "https://example.com/generated-image.png";
container.appendChild(img);
By default, notifyStimulusComplete() is called automatically when the end of your script is reached. You only need to call it manually if your content loads asynchronously, such as after fetching from an API or loading an image.
Call this when your content begins presenting. This is useful when there is a delay before your main content appears, such as a loading spinner or API request.
const container = document.getElementById("content");

container.innerHTML = "<p>Generating content...</p>";

const response = await fetch("https://api.example.com/generate");
const data = await response.json();

notifyStimulusStart();

container.innerHTML = `<img src="${data.image_url}">`;
By default, notifyStimulusStart() is called automatically when your script begins executing. You only need to call it manually if you want to delay the start signal until your content is actually visible.
Call this when something goes wrong and your content cannot be displayed. The experiment will handle the error gracefully.
try {
  const response = await fetch("https://api.example.com/generate");

  if (!response.ok) {
    throw new Error(`API returned ${response.status}`);
  }

  const data = await response.json();
  document.getElementById("content").textContent = data.message;
} catch (error) {
  notifyStimulusFailed(error.message);
}Use setMeta() to attach extra JSON-serializable metadata to the current stimulus presentation. This is useful when your embedded code generates or receives values that you want to keep with the rating result, such as a prompt ID, generated asset ID, model response, or runtime parameters.
setMeta({
  promptId: "prompt_001",
  model: "example-model-v2",
  seed: 12345,
});
Metadata must be valid JSON and is limited to 2048 characters after serialization. If the object cannot be serialized, or if it exceeds the size limit, Mabyduck stores an error in the extra metadata field instead.
Use setIframeSize() to resize the iframe container from your stimulus code. Width and height are specified in pixels.
setIframeSize(900, 600);

const container = document.getElementById("content");
container.innerHTML = "<h1>Wide interactive task</h1>";
This is useful when a stimulus needs more space than the default iframe size, or when different conditions need different layouts.
Embedded JavaScript can use dataset secrets in URLs and headers for requests made with fetch, XHR, and WebSocket.
const response = await fetch("https://api.openai.com/v1/images/generations", {
  method: "POST",
  headers: {
    Authorization: "Bearer #{SECRETS.OPENAI_KEY}",
    "Content-Type": "application/json",
  },
  body: JSON.stringify({
    prompt: "A mountain landscape",
    n: 1,
  }),
});